Unlock Your Inner Artist: The Ultimate Beginner's Guide to Starting Crochet Today!
Unlock Your Inner Artist: The Ultimate Beginner's Guide to Starting Crochet Today!
Ready to dive into the wonderful, cozy world of crochet? Fantastic! It might look intricate, but trust me, with a little guidance and patience, you'll be hooking loops and creating beautiful fabric in no time. This guide is designed to take you from "What's a yarn over?" to confidently tackling your first project. We'll break down the essentials, step-by-step, ensuring you build a solid foundation. Forget overwhelm; think excitement! You're about to unlock a skill that’s not only creative and relaxing but also lets you make unique, handmade treasures for yourself and loved ones. Let's get those hooks moving!
Gathering Your Starter Toolkit: The Absolute Essentials
Before you can conjure fabric from yarn, you need a few trusty tools. Don't worry, you don't need to buy out the craft store! For starting out, simplicity is key. We'll focus on the absolute must-haves to get you going without breaking the bank or cluttering your space. Think of this as your foundational crochet kit – items you'll use again and again as you progress. Getting the right initial tools can make a huge difference in your learning experience, making it smoother and much more enjoyable. Let's look at what you'll need.
Choosing Your Very First Crochet Hook
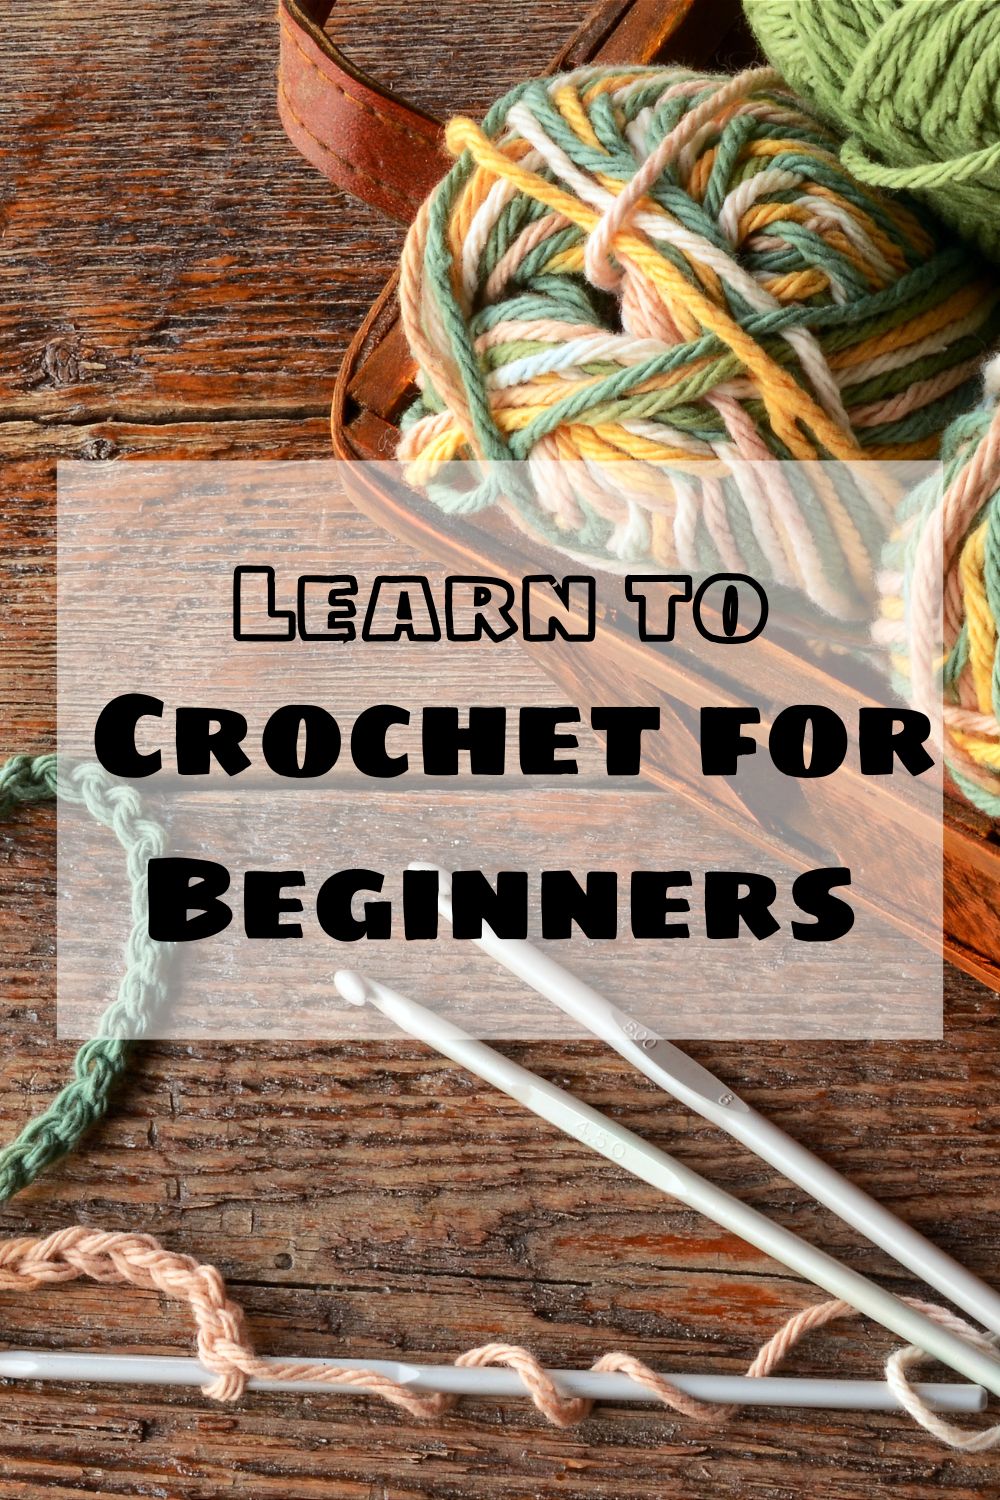
Your crochet hook is your magic wand! But with so many sizes and types, which one do you choose? For absolute beginners, a mid-size hook is generally recommended because it's easier to handle and works well with common beginner yarns.

-
Size Matters: Look for a hook around 5mm (US H-8) or 5.5mm (US I-9). These sizes are comfortable to hold and create stitches that are large enough to see clearly, which is crucial when you're learning. Hook sizes are usually marked directly on the hook's thumb rest or handle.
-
Material: Beginner hooks are often aluminum. They are smooth, affordable, and durable. Bamboo or plastic hooks are also options, but aluminum provides a nice, consistent glide for most yarns.
-
Ergonomics (A Quick Intro): While a basic aluminum hook is fine to start, know that ergonomic crochet hooks exist. These have larger, shaped handles designed for comfort and reducing hand strain. If you already know you have hand pain or plan on crocheting for long periods, you might consider one early on. See our FAQs below for more! [Internal Link: Guide to Choosing Crochet Hook Sizes & Materials]
For now, a simple 5mm or 5.5mm aluminum hook is your perfect starting point.
Selecting Your Beginner-Friendly Yarn
Walking into a yarn store (or browsing online) can be dazzling... and overwhelming! So many colors, textures, and weights. Let's simplify. Your first yarn should make learning easy.

-
Weight: Choose a medium-weight yarn. Look for labels that say "Worsted Weight" (Category 4) or sometimes "Aran Weight." This thickness works perfectly with the 5mm-5.5mm hook, creating substantial stitches that are easy to identify and count. Avoid very thin (fingering) or very thick (bulky/chunky) yarns initially.
-
Fiber: Acrylic yarn is often the top choice for beginners. Why? It's inexpensive, widely available in many colors, durable, washable, and generally smooth, meaning it's less likely to split while you're learning. Cotton is another option, but can sometimes be a bit splitty or less forgiving on tension. Avoid fuzzy or highly textured yarns (like boucle or chenille) for now – they make it hard to see your stitches.
-
Color: Pick a light, solid color. Think pale blue, light green, pink, yellow, or beige. Dark colors (black, navy, deep purple) and variegated (multi-colored) yarns make it incredibly difficult to see the structure of your stitches, which is essential for learning where to insert your hook.
You'll also need a small pair of scissors for cutting yarn and a yarn needle (also called a tapestry needle) with a large eye for weaving in ends later. [Internal Link: Best Yarns for Beginners Reviewed]
Mastering the Absolute Basics: Your First Stitches
Alright, tools in hand? Let's make some loops! These are the foundational techniques you'll build everything else upon. Practice these slowly and deliberately. Don't aim for speed yet; focus on understanding the motions.
Making Your First Slip Knot
Every crochet project starts with a slip knot. This creates the first adjustable loop on your hook.
-
Take the end of your yarn and make a loop, crossing the yarn end over the working yarn (the yarn coming from the ball).
-
Dip your hook through the center of the loop.
-
Use the hook to grab the working yarn.
-
Pull the working yarn back through the loop on your hook.
-
Gently pull both the yarn tail and the working yarn to tighten the knot onto the hook. It should be snug but able to slide easily along the hook shaft.
Congratulations! That adjustable loop is your slip knot. It's the anchor for everything that follows. Remember, the slip knot typically doesn't count as your first stitch.
Creating a Foundation Chain (ch)
The foundation chain is the base row for most crochet projects worked in rows. It's essentially a series of connected loops.
-
With the slip knot on your hook, bring the yarn from the back over the top of your hook. This movement is called a yarn over (YO).
-
Use the hooked part of your hook to catch that yarn over.
-
Draw the hook (and the yarn it caught) back through the loop that was already on your hook.
-
You've made one chain stitch (ch)! You'll see a little 'V' shape form.
-
Repeat steps 1-3: Yarn over, pull through the loop on the hook. Yarn over, pull through.
Practice making a chain of about 10-15 stitches. Try to keep them relatively even in size – not too tight, not too loose. This takes practice! [Internal Link: Video Tutorial: How to Make a Slip Knot & Foundation Chain]
Learning the Single Crochet Stitch (sc)
This is arguably the most fundamental crochet stitch. Once you master this, you can make solid, sturdy fabric. We'll practice working into the foundation chain you just made.
-
Skip the first chain stitch immediately next to your hook (this acts as a turning chain and gives height for the row).
-
Insert your hook into the center of the second chain stitch from your hook. You'll usually go under the top two loops of that 'V' shape.
-
Yarn over (YO).
-
Pull up a loop: Draw the yarn back through the chain stitch. You should now have two loops on your hook.
-
Yarn over (YO) one more time.
-
Pull through both loops that are currently on your hook.
That's one single crochet (sc) stitch completed! To continue across your chain:
-
Insert your hook into the next chain stitch.
-
YO, pull up a loop (2 loops on hook).
-
YO, pull through both loops.
-
Repeat in each chain stitch across your foundation chain.
Count your stitches! If you started with a chain of 10, and skipped the first chain, you should have 9 single crochet stitches. [Internal Link: Step-by-Step Guide to the Single Crochet Stitch]
Understanding and Practicing Tension
Tension is how tightly or loosely you hold your yarn and form your stitches. Consistent tension is the secret sauce to even, professional-looking crochet fabric. Beginners often struggle here – stitches might be super tight one moment and loose the next.
"Consistent tension is more important than perfect tension initially. Aim for 'comfortably snug' stitches you can easily work back into, and try to replicate that feeling for every stitch."
-
Too Tight? Your hook will be hard to insert, your fabric stiff, and your hands might hurt. Try relaxing your grip on both the hook and the yarn.
-
Too Loose? Your fabric might look holey or sloppy. Ensure you're pulling the yarn through smoothly but firmly after each yarn over.
-
How to Hold Yarn: Experiment! Many crocheters wrap the working yarn around their index finger (or pinky finger) on their non-hook hand to control the flow. Find what feels comfortable and allows you to feed the yarn smoothly.
Practice making small squares (swatches) of single crochet, focusing purely on making each stitch look and feel like the last. It takes time!
Your First Simple Project Idea: The Humble Swatch or Dishcloth
Don't try to tackle a complex blanket or sweater just yet! The best first project is something small, simple, and lets you practice those basic stitches repeatedly. Making practice swatches (small squares, maybe 15 stitches wide and 10 rows high) is invaluable. You can also aim for a simple single crochet dishcloth.
To make a basic square:
-
Chain 16 stitches.
-
Turn your work. Single crochet in the second chain from the hook and in each chain across (15 sc total).
-
At the end of the row, chain 1 (this is your turning chain) and turn your work physically around.
-
Single crochet in the first stitch of the row below and in each stitch across (15 sc).
-
Repeat steps 3 and 4 until your piece is roughly square.
This repetition builds muscle memory and helps you nail tension and stitch recognition. Plus, a handmade dishcloth is surprisingly satisfying! [Internal Link: Free Pattern: Easy Beginner Single Crochet Dishcloth]
Troubleshooting Common Beginner Mistakes
Hitting roadblocks is normal! Here are a few common beginner frustrations and how to fix them:
-
Uneven Edges: Usually caused by missing the first or last stitch of a row, or accidentally adding extra stitches. Solution: Always count your stitches at the end of every row! Place a stitch marker in the first and last stitch of the row if it helps you identify them. Ensure you're making the correct number of turning chains for your stitch (for single crochet, it's typically ch 1).
-
Work Curling: Often happens if your foundation chain is too tight compared to your stitches, or your general tension is too tight. Solution: Try making your foundation chain with a slightly larger hook, or consciously loosen up your chains. Practice relaxing your overall tension.
-
Holes in Fabric: Could be inconsistent tension (some loose stitches) or accidentally skipping stitches. Solution: Focus on consistent tension. Double-check you're working into every stitch required by the pattern or row.
-
Losing Stitches: Forgetting to work into the very last stitch of the row is common. Solution: Count, count, count! Use stitch markers in that last stitch.
-
Gaining Stitches: Often happens by working two stitches into one spot (especially the first or last stitch) or working into the turning chain when you shouldn't. Solution: Again, counting is key. Understand where the first actual stitch of the row is after your turning chain.
Don't get discouraged! Every crocheter encounters these. Patience and practice are your best friends. [Internal Link: Common Crochet Mistakes and How to Fix Them]
Focus on Comfort: The Importance of Ergonomics
As you start spending more time crocheting, you might notice some hand or wrist fatigue. This is where ergonomics becomes important. Using tools and techniques that support your body helps prevent pain and allows you to crochet comfortably for longer. Standard metal hooks are fine for short bursts, but for extended sessions or if you have pre-existing conditions like arthritis or carpal tunnel, considering comfort is vital. This leads us perfectly into discussing a specific tool designed for this purpose: the ergonomic crochet hook. Taking breaks, stretching your hands, and maintaining good posture are also crucial ergonomic practices for any crafter.
Frequently Asked Questions: Ergonomic Crochet Hooks
Ergonomic hooks often come up once beginners start crocheting more regularly. Here are some common questions:
-
What exactly is an ergonomic crochet hook?
-
An ergonomic crochet hook features a modified handle designed to reduce strain on your hand and wrist. Instead of a thin, uniform shaft, it typically has a larger, built-up handle, often made of soft rubber, silicone, plastic, or sculpted wood, shaped to fit more comfortably in the palm.
-
-
What are the main benefits of using ergonomic hooks?
-
The primary benefit is increased comfort, especially during longer crochet sessions. They can significantly reduce hand fatigue, cramping, and pain in the wrist, fingers, and even forearm. This makes crocheting more accessible and enjoyable for people with arthritis, repetitive strain injuries (RSI), or general hand sensitivity. The larger handle also provides a better grip for some users.
-
-
Who should consider using ergonomic crochet hooks?
-
While anyone can benefit from the added comfort, they are particularly recommended for:
-
Individuals with arthritis, carpal tunnel syndrome, tendonitis, or other hand/wrist conditions.
-
Crocheters who experience pain, numbness, or fatigue with standard hooks.
-
People who crochet for extended periods regularly.
-
Those who simply prefer a more substantial, comfortable grip.
-
-
-
Are there any downsides to ergonomic hooks?
-
The main potential downsides are cost (they are generally more expensive than basic aluminum hooks) and personal preference. The shape and feel that one person finds comfortable, another might not. Some crocheters also find the larger handle feels bulky initially if they're used to thin hooks. It's often a matter of trying different brands or styles to find the best fit. [Internal Link: Our Top Picks for Ergonomic Crochet Hooks]
-
-
Do ergonomic hooks change how you actually make the stitches?
-
No, the fundamental mechanics of making a stitch (yarn over, insert hook, pull through) remain exactly the same. The ergonomic design only changes how you hold the hook, aiming to put your hand and wrist in a more neutral, less stressful position. Your stitchwork itself shouldn't change, though improved comfort might lead to more consistent tension over time.
-
Remember, starting crochet is a journey, not a race. Embrace the learning process, celebrate the small victories (like your first even row!), and don't be afraid to unravel and try again – it's just yarn. Happy hooking!
Tags: